
!["[New] Find Your Perfect TikTok Video - Explore the Best 10 Free, Mac-Compatible Editing Apps"](https://www.lifewire.com/thmb/wbIj8Nnh7GHWuHhw-jihfDWuFcY=/400x300/filters:no_upscale():max_bytes(150000):strip_icc()/6-best-parental-control-apps-of-2019-featured-c5b50932ab9c4c0fbc0757665e46b6b2.jpg)
"[New] Find Your Perfect TikTok Video - Explore the Best 10 Free, Mac-Compatible Editing Apps"
Find Your Perfect TikTok Video - Explore the Best 10 Free, Mac-Compatible Editing Apps
10+ Free TikTok Video Editing Apps/Website on Mac

Shanoon Cox
Dec 14, 2023• Proven solutions
TikTok is a super popular social media platform where you can create and share short videos with some dance, song, and lip-syncing. Even though the app has built-in video editing tools that are quite effective, at times to make your videos pop, those features might not be enough if you require something unique for your video. So, to avoid using only the limited features provided by TikTok, you need to use good TikTok editing apps/websites.
In this article, we are going to tell you about the top 10+ free TikTok video editing apps/websites that you can use to edit your TikTok videos and make them stand out.
2. FlexClip
It is an online TikTok video creator and editor. You can access it for free. It has several features that you can use for creating engaging TikTok videos in the browser. You do not even have to take the trouble of installing the app on your Mac system.
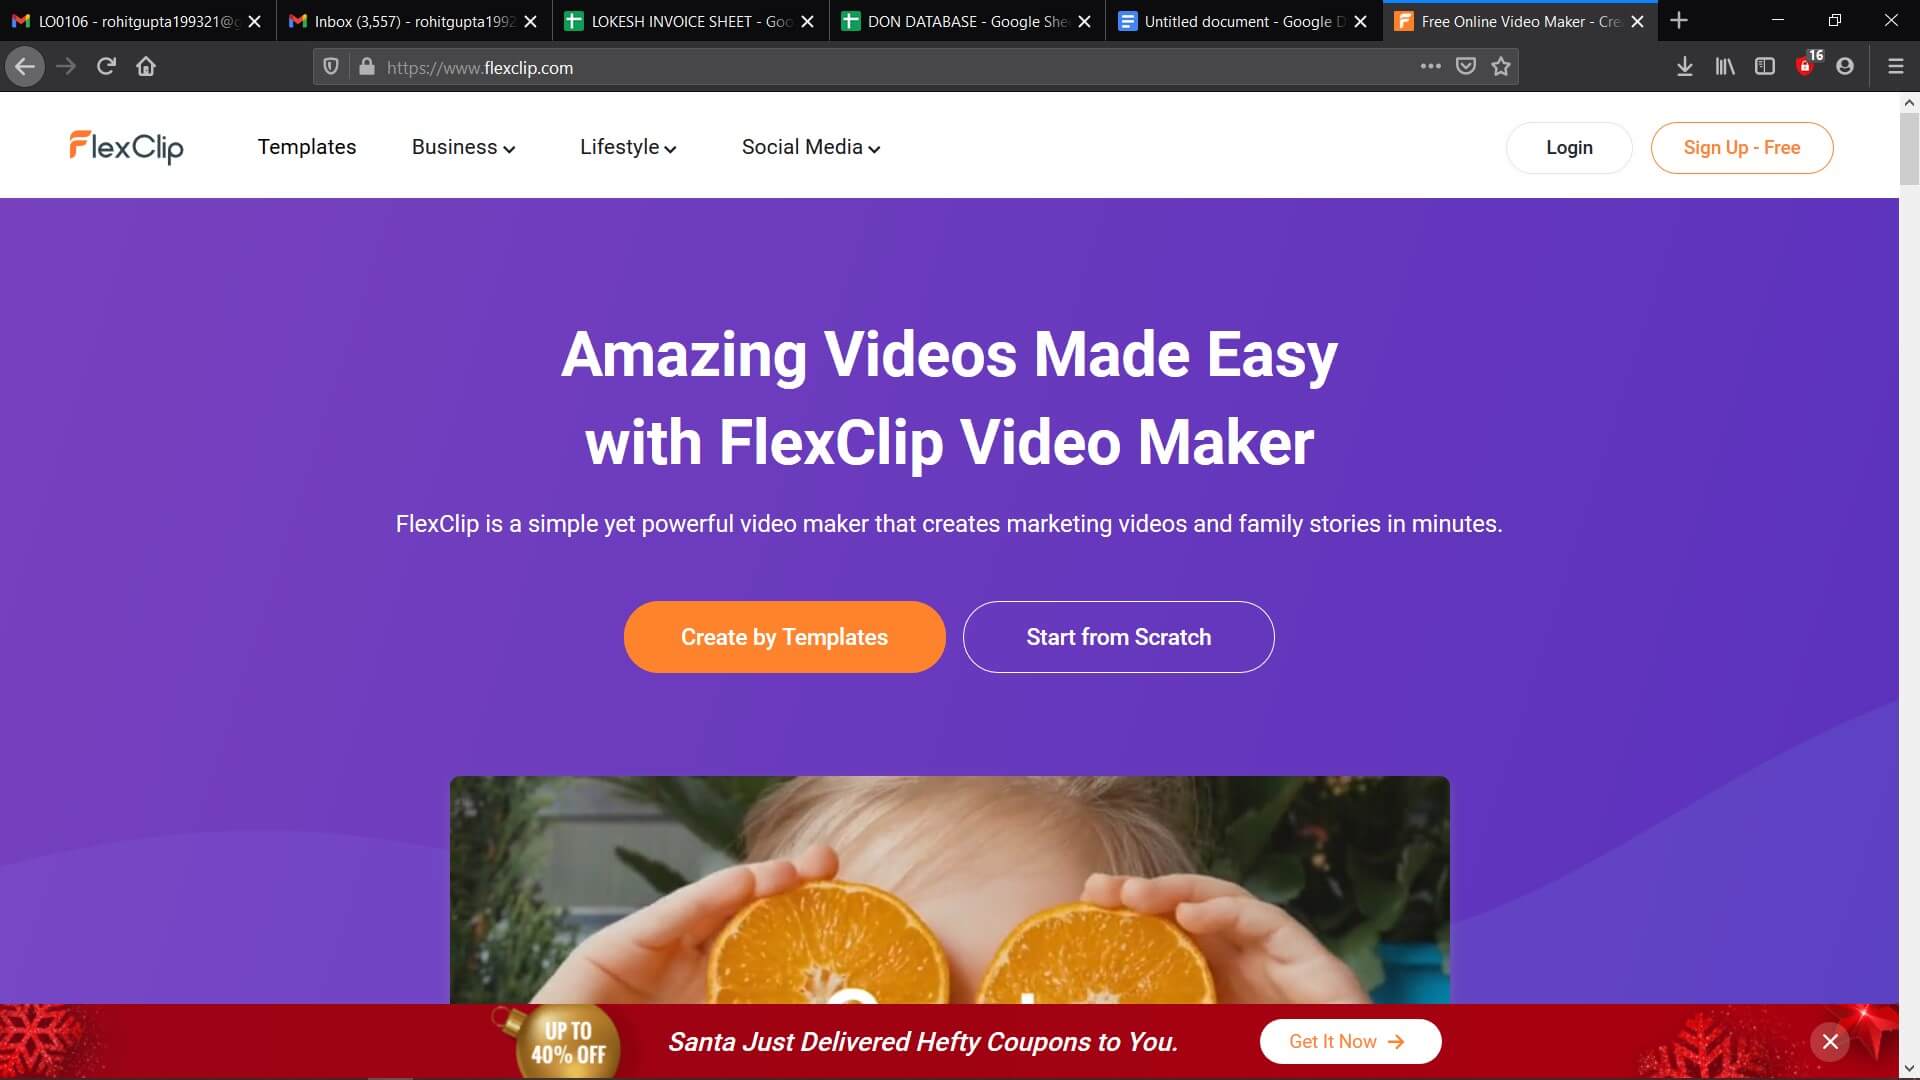
To make sure that you can easily find the media resource that you need, FlexClip offers a large media library where you can search for audio, video, and photo by using a keyword. So, by using this, you will be able to edit like professionals.
Pros
● East and free to use
● Several video template
● No need to download software
● Several royalty-free media sources
Cons
● The free version is limited
● Doesn’t have an undo button
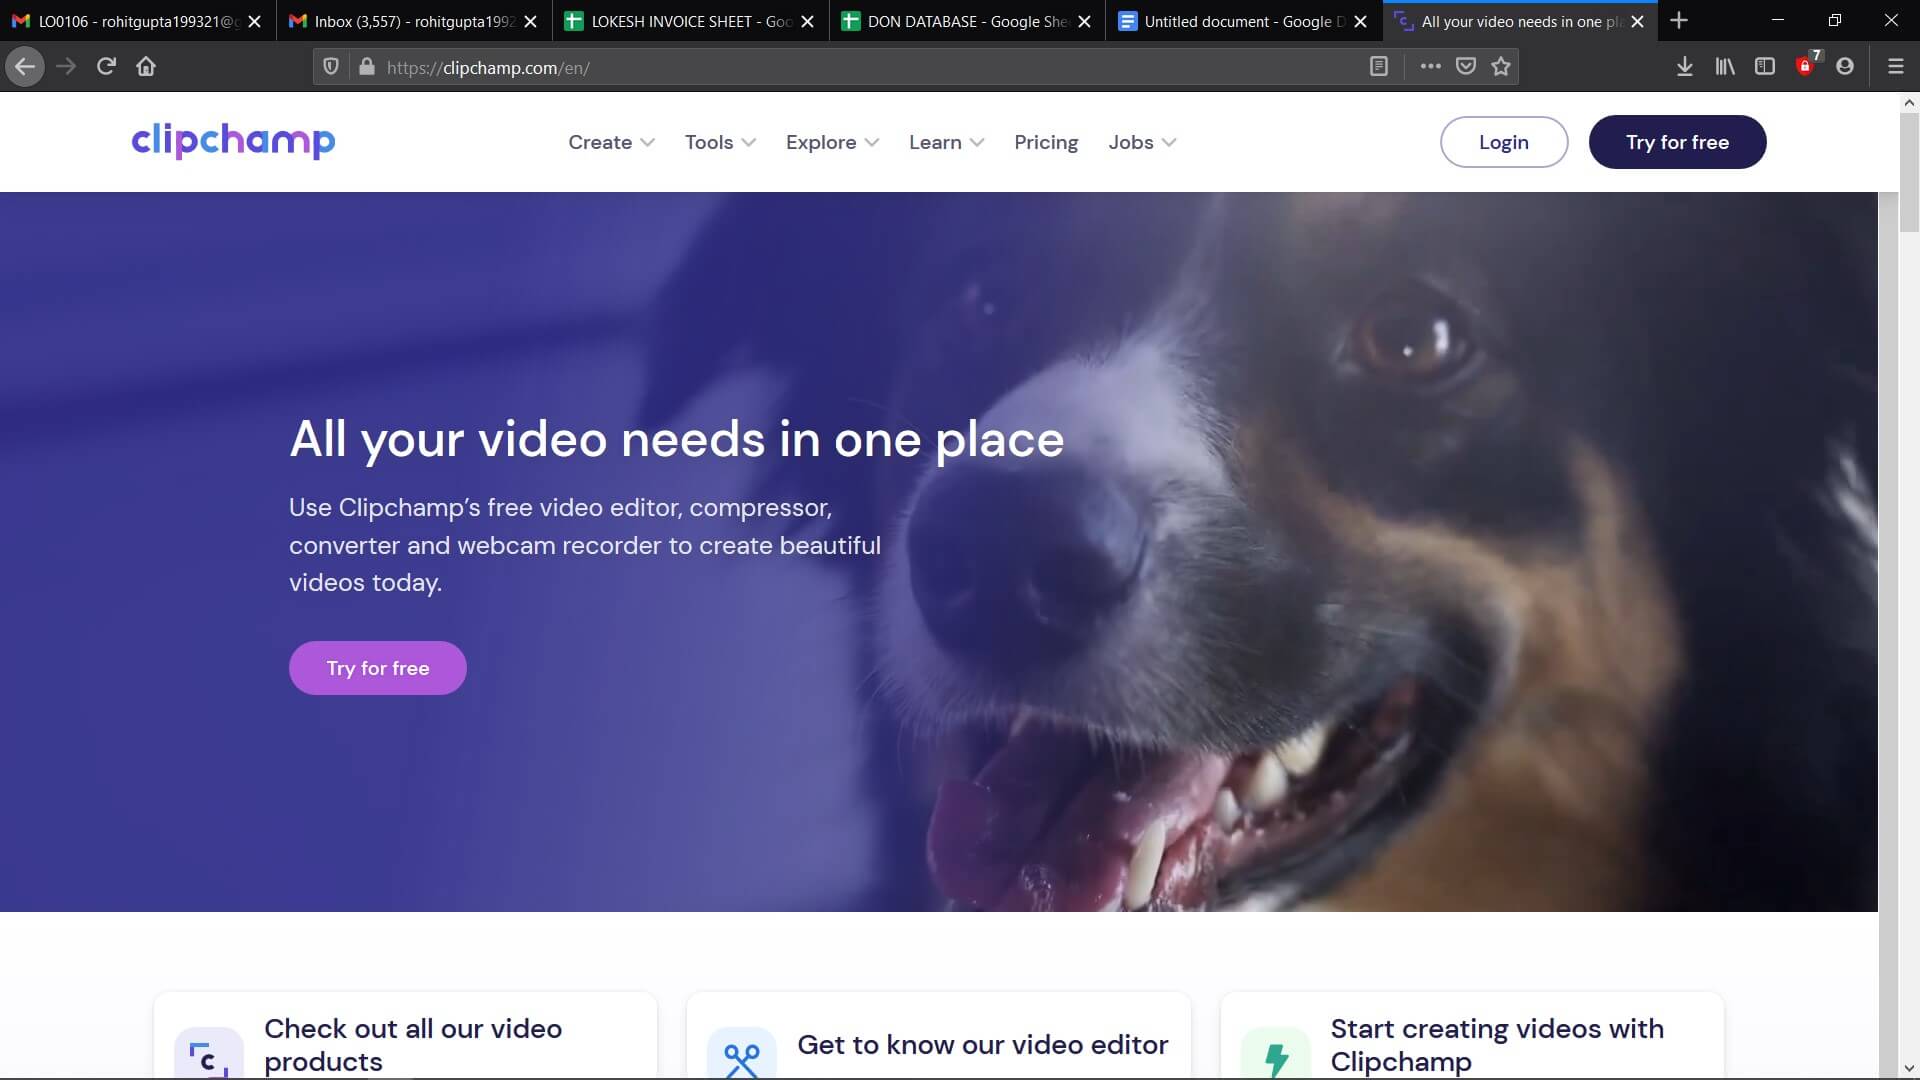
3. ClipChamp
ClipChamp is another online video editor. It has an intuitive and simple interface. With this, you will be able to enjoy great editing functions. The online TikTok video editor tool caters to all video editing requirements like splitting, cutting, and adding music or text. But this is not all, the tool will also let you apply filters and add a transition. You can access it for free. This is the best video editing tool for beginners.
Pros
● The free to use and work in the browser
● Has a large media library
● Lets you import files with just a click
Cons
● The free version offers only limited features
● You have to sign up to use
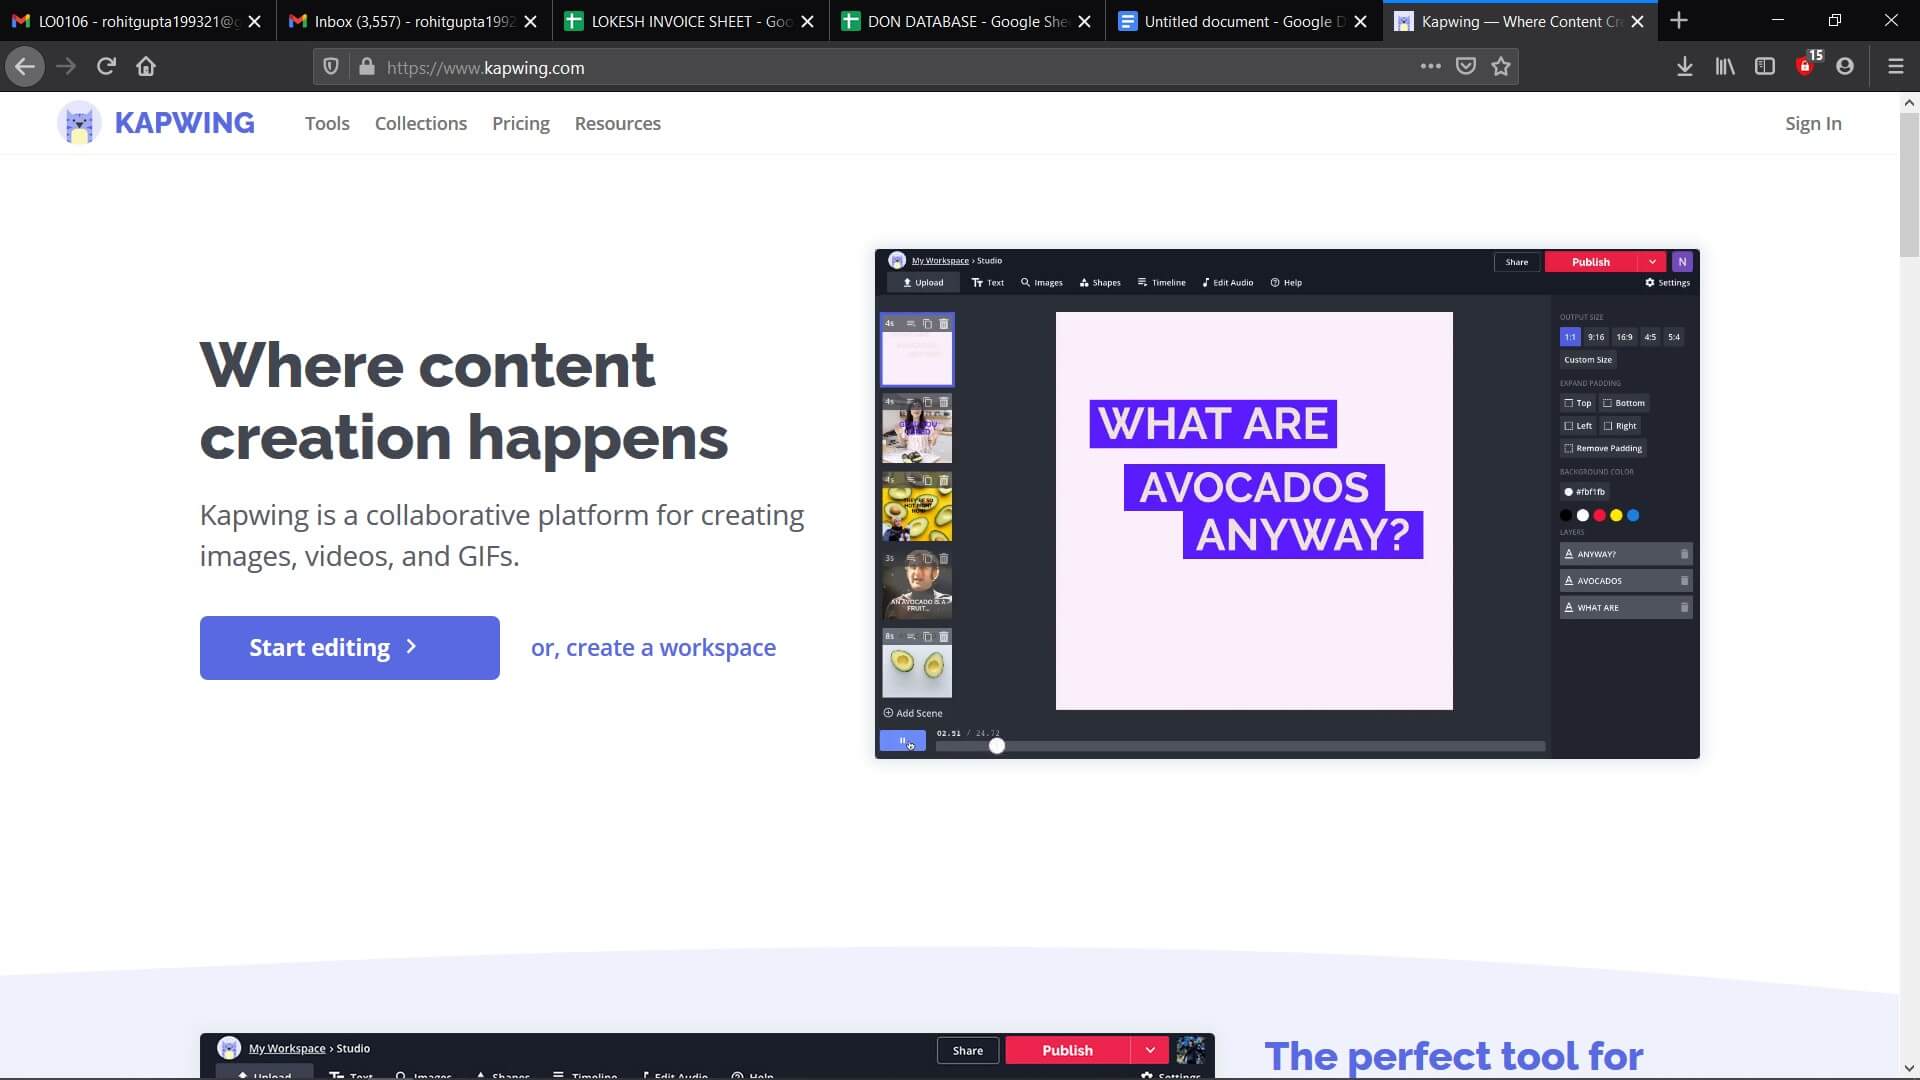
4. Kawping
Kapwing is a web-based video editor that can create amazing videos with the help of a few simple steps. All you have to do is upload the video clips to the Kapwing editor and do editing works like trimming, splitting, adding text, resizing, adding music and text, and more. One of the best things about this website is it is not going to add a watermark to the video.
Pros
● Available for free and easy to use
● Doesn’t add watermark
● Comes with several editing features
Cons
● Exports video rather slowly
● Doesn’t have media resources
5. Camtasia
This is video editing software that you can use to edit your videos for TikTok. The platform is equipped with features that optimize the creation of videos. Mac users can expect the software to run smoothly on their system.
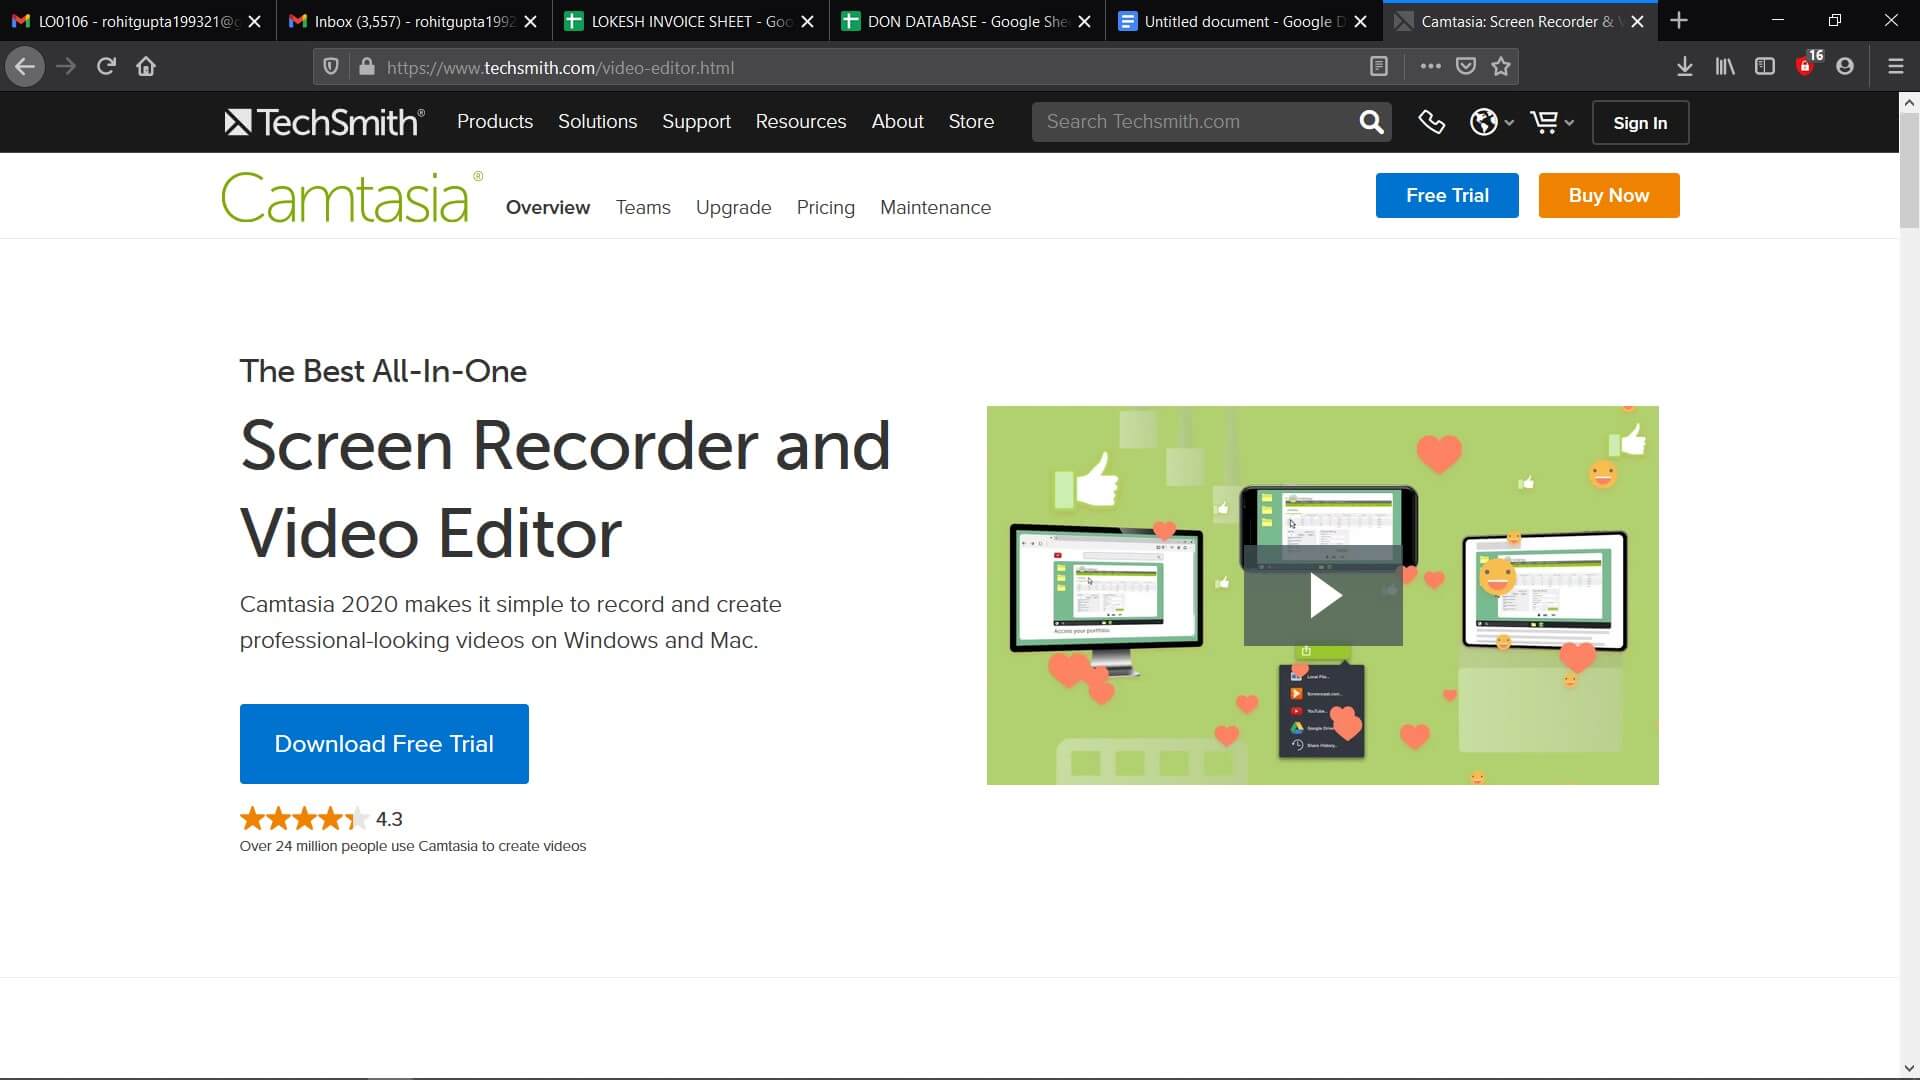
In case you are interested in checking out the Camtasia offer, you can try out the free trial. As soon as the period expires, you will have to sign up for a license. When you get the license, you will be able to unlock all the features.
Pros
● Screen recording with audio
● Large audio and music library
● Offers video templates
Cons
● The free trial doesn’t offer all features
6. Adobe Rush
It is an app that is available for macOS, Windows, iOS, and Android. To use this, you do not have to be a video editing professional. As it is a cross-platform app, you can easily create videos using it. You can adjust the video aspect ratio using the color grading effect or some of the motion graphic templates of the app.
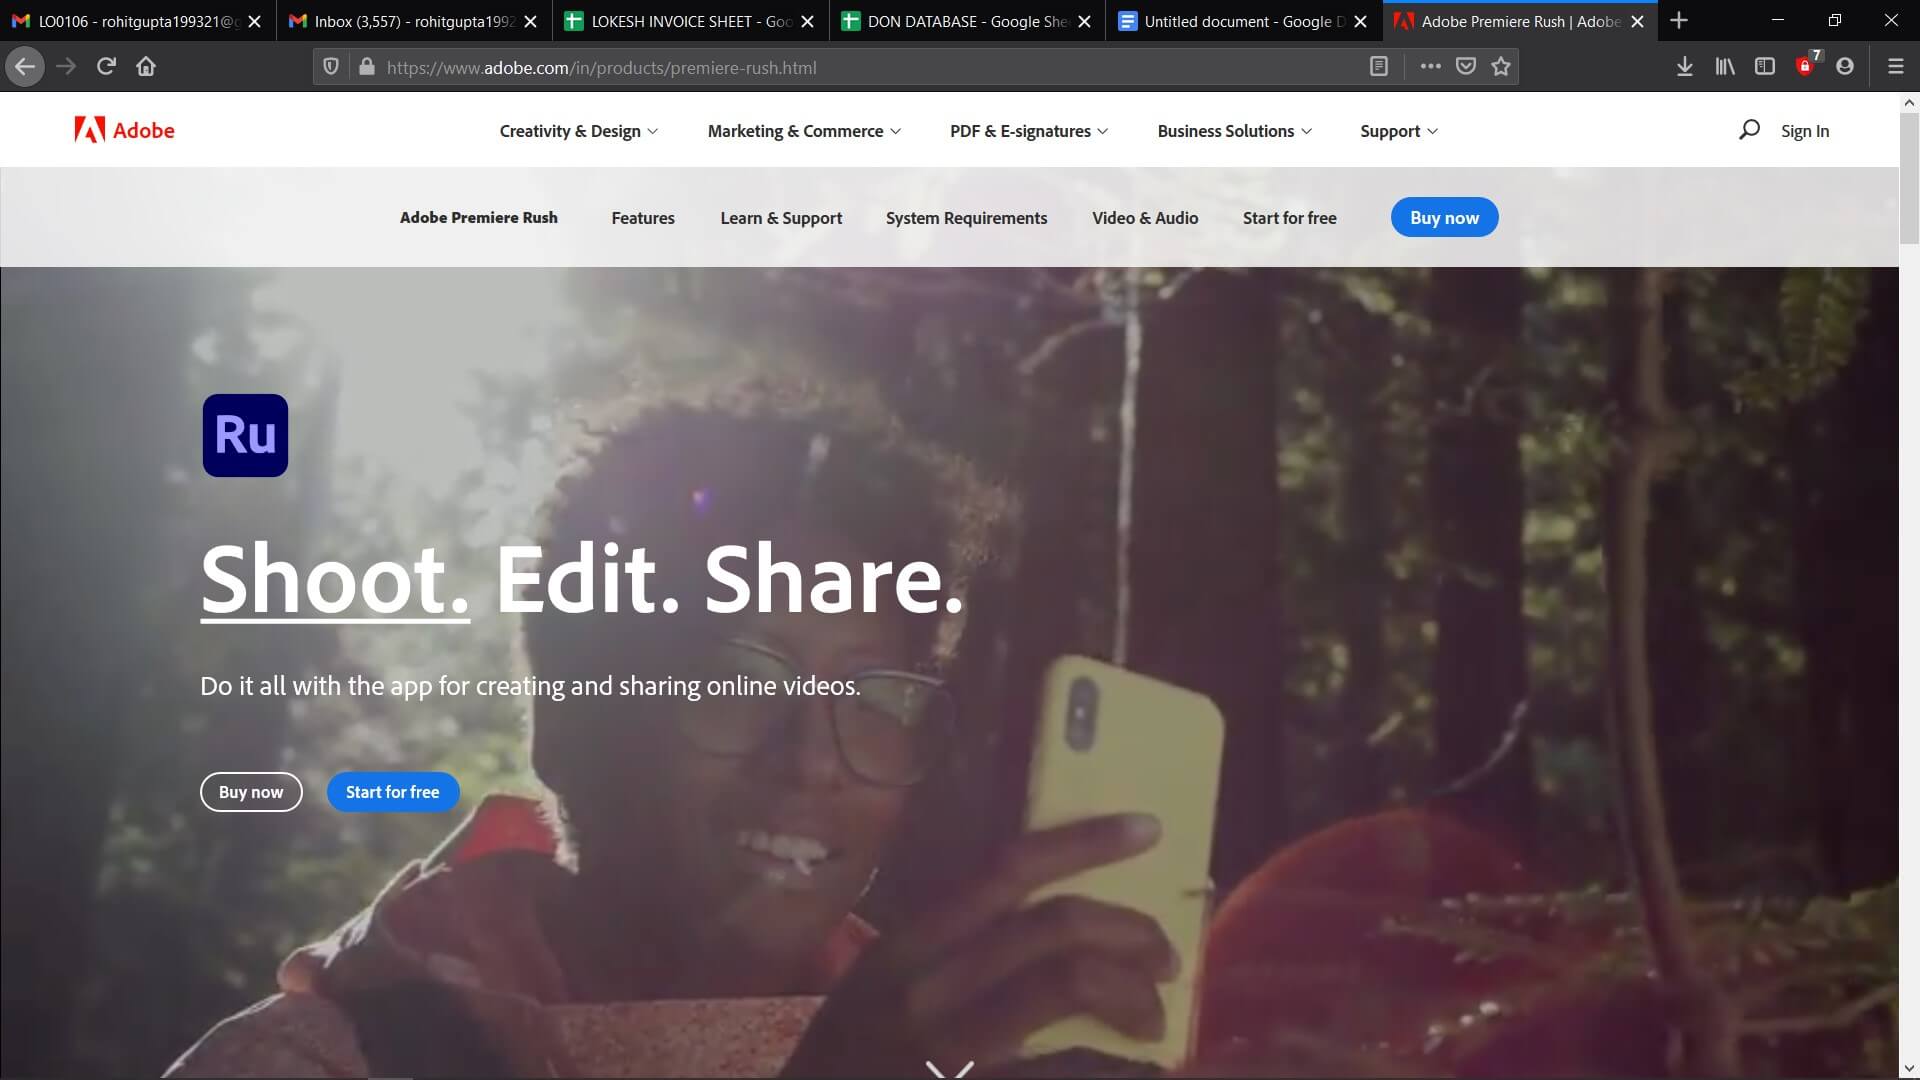
Apart from this, it also lets you adjust the Shadows, Vibrance, and Exposure in a video clip. Nevertheless, the free version of the app comes with limited features. Choose the annual or monthly subscription model if you have to expand the cloud storage space.
Pros
● Lets you share videos directly from Tiktok
● Cross-platform availability
● Is compatible with the other video editing software products by Adobe
Cons
● The app cannot be accessed in all corners of the world
● The free version allows you to export just 3 videos every month
7. Wondershare Filmora
Filmora is going to give you access to the editing tools that you will need for creating comic videos or music to share on TikTok. The video editing software for PC and Mac computers allows you to edit footage that has been recorded using smartphones, action cameras, or DSLRs.
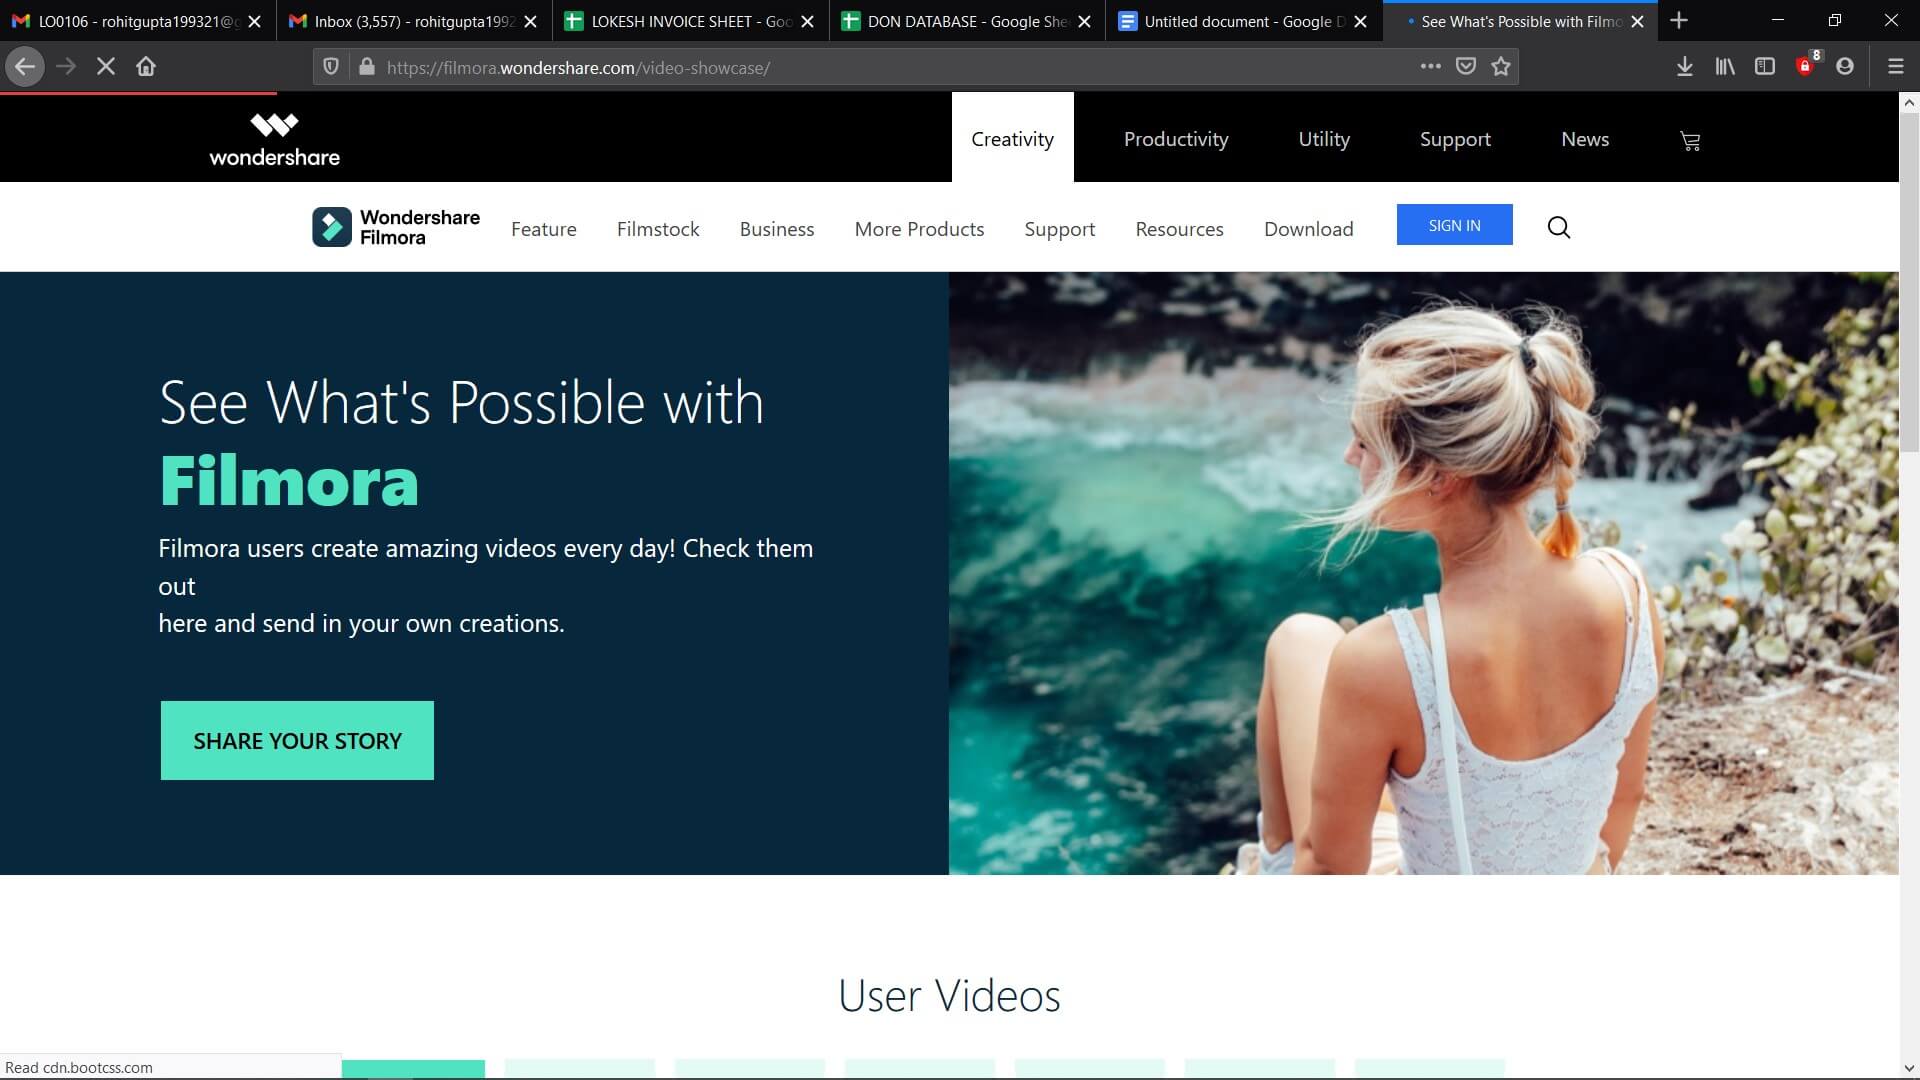
Cutting and trimming video clips, creating soundtracks for some music video, or adjusting the aspect ratio are a few things that you can do using Filmora. The exporting features of the video editor are impressive. It lets you select the device where you are going to play the video. You can upload it directly to your TikTok profile.
Pros
● Offers multiple audio and visual effects
● Supports 4K video editing
● Powerful video and sound editing tools
Cons
● Doesn’t allow you to export videos from TikTok to FilmoraX


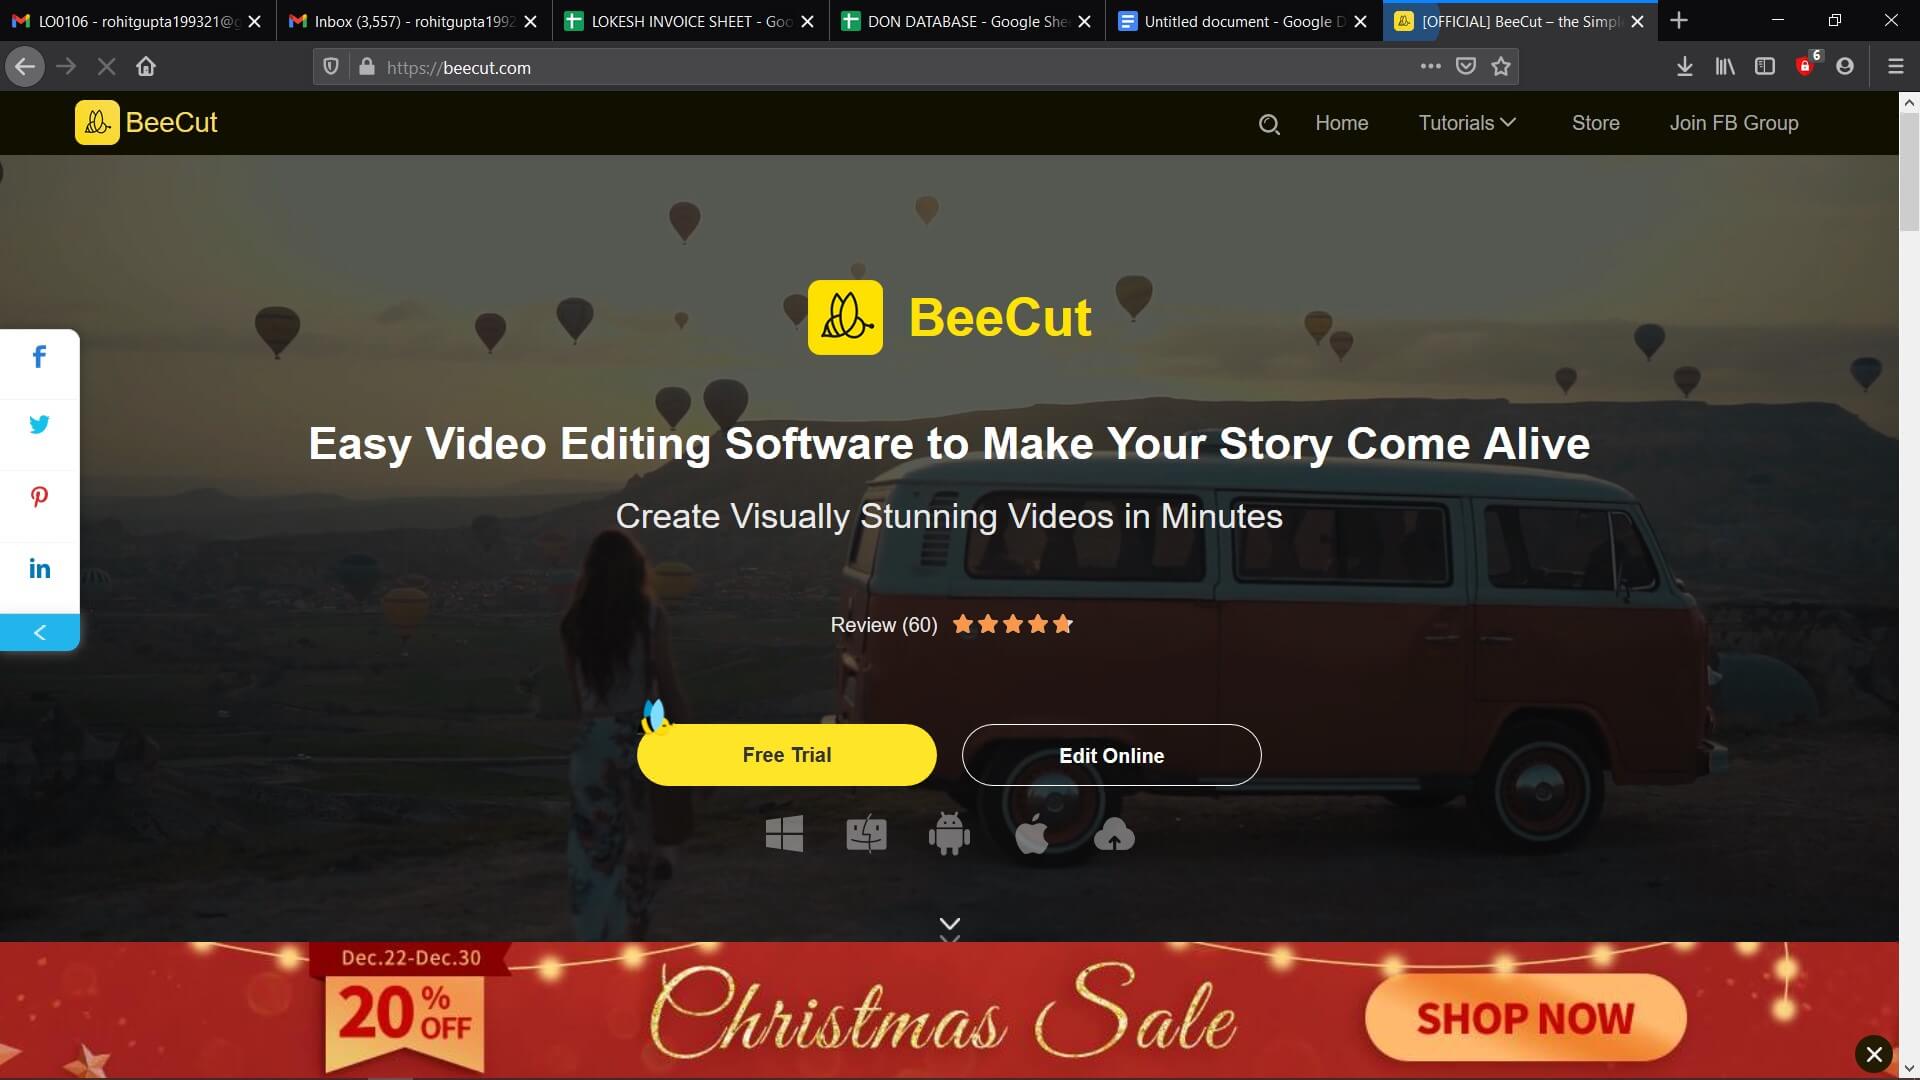
8. BeeCut
This is a video editing that is quite popular among Mac and Windows users. Apart from having a simple user-interface it also has some powerful video editing functions. With the help of this, you can add exciting and cool filters to your TikTok videos. You can also add overlays, PIP effects, titles, transitions, and much more. The software supports 5 aspect ratios that include 4:3, 3:4, 9:16, 16:9, and 1:1. Even if you have no idea about editing videos on your computer, you can use the editor to create stunning videos in no time.
Pros
● Lets you edit TikTok videos using various tools
● Enables video editing in multiple aspect ratios and resolutions
● Comes with several color strokes, animation, and other effects
Cons
● Doesn’t have Chroma Key function
9. Open Shot
OpenShot is simple and free to use open-source video editor available for Windows, Mac, and Linux. It is a good video editing tool for beginners. With this, you can learn video editing skills. If you have to learn the basics without spending too much time, this video editor is your best shot.

Other than doing basic video editing, you will also be able to render 3D animation. Using this editor, you can slice and trim videos without any hassle.
Pros
● Provides templates for editing tiles
● Lets you trim videos at your will
● Has free built-in animation and effects
Cons
● Can be buggy at times
10. Kdenlive
Albeit the development team has shifted full-steam ahead on Linux, you can use the video editing software on Mac. It supports all popular media formats and lets you add files to the software’s timeline pretty easily.
Pros
● Lets you edit video and audio tracks
● Customizes shortcuts easily
● Is an open-source software
Cons
● Updates slowly
11. Blender
This is a free 3D graphics application that is considered to be one of the top video editors for Mac. It is used for rigging, modeling, UV unwrapping, animation, and more. The blender comes with several advanced features such as powerful character, modifier-based modeling, etc.
Pros
● Supports GPU and CPU rendering
● Is a 3D creation suite
● Has different sculpture brushes and tools
Cons
● Animation management isn’t smooth
Conclusion
Creating videos for TikTok and making them unique becomes easy when you choose one of the best TikTok editing apps/websites. However, FilmoraX is one of the top TikTok editing apps you can use without thinking twice because of its unique and standout features. Download the trial version and check it out.
Learn More: How to Make a Video Meme for Tiktok>>>
Shanoon Cox
Shanoon Cox is a writer and a lover of all things video.
Follow @Shanoon Cox
Shanoon Cox
Dec 14, 2023• Proven solutions
TikTok is a super popular social media platform where you can create and share short videos with some dance, song, and lip-syncing. Even though the app has built-in video editing tools that are quite effective, at times to make your videos pop, those features might not be enough if you require something unique for your video. So, to avoid using only the limited features provided by TikTok, you need to use good TikTok editing apps/websites.
In this article, we are going to tell you about the top 10+ free TikTok video editing apps/websites that you can use to edit your TikTok videos and make them stand out.
2. FlexClip
It is an online TikTok video creator and editor. You can access it for free. It has several features that you can use for creating engaging TikTok videos in the browser. You do not even have to take the trouble of installing the app on your Mac system.
To make sure that you can easily find the media resource that you need, FlexClip offers a large media library where you can search for audio, video, and photo by using a keyword. So, by using this, you will be able to edit like professionals.
Pros
● East and free to use
● Several video template
● No need to download software
● Several royalty-free media sources
Cons
● The free version is limited
● Doesn’t have an undo button
3. ClipChamp
ClipChamp is another online video editor. It has an intuitive and simple interface. With this, you will be able to enjoy great editing functions. The online TikTok video editor tool caters to all video editing requirements like splitting, cutting, and adding music or text. But this is not all, the tool will also let you apply filters and add a transition. You can access it for free. This is the best video editing tool for beginners.
Pros
● The free to use and work in the browser
● Has a large media library
● Lets you import files with just a click
Cons
● The free version offers only limited features
● You have to sign up to use
4. Kawping
Kapwing is a web-based video editor that can create amazing videos with the help of a few simple steps. All you have to do is upload the video clips to the Kapwing editor and do editing works like trimming, splitting, adding text, resizing, adding music and text, and more. One of the best things about this website is it is not going to add a watermark to the video.
Pros
● Available for free and easy to use
● Doesn’t add watermark
● Comes with several editing features
Cons
● Exports video rather slowly
● Doesn’t have media resources
5. Camtasia
This is video editing software that you can use to edit your videos for TikTok. The platform is equipped with features that optimize the creation of videos. Mac users can expect the software to run smoothly on their system.
In case you are interested in checking out the Camtasia offer, you can try out the free trial. As soon as the period expires, you will have to sign up for a license. When you get the license, you will be able to unlock all the features.
Pros
● Screen recording with audio
● Large audio and music library
● Offers video templates
Cons
● The free trial doesn’t offer all features
6. Adobe Rush
It is an app that is available for macOS, Windows, iOS, and Android. To use this, you do not have to be a video editing professional. As it is a cross-platform app, you can easily create videos using it. You can adjust the video aspect ratio using the color grading effect or some of the motion graphic templates of the app.
Apart from this, it also lets you adjust the Shadows, Vibrance, and Exposure in a video clip. Nevertheless, the free version of the app comes with limited features. Choose the annual or monthly subscription model if you have to expand the cloud storage space.
Pros
● Lets you share videos directly from Tiktok
● Cross-platform availability
● Is compatible with the other video editing software products by Adobe
Cons
● The app cannot be accessed in all corners of the world
● The free version allows you to export just 3 videos every month
7. Wondershare Filmora
Filmora is going to give you access to the editing tools that you will need for creating comic videos or music to share on TikTok. The video editing software for PC and Mac computers allows you to edit footage that has been recorded using smartphones, action cameras, or DSLRs.
Cutting and trimming video clips, creating soundtracks for some music video, or adjusting the aspect ratio are a few things that you can do using Filmora. The exporting features of the video editor are impressive. It lets you select the device where you are going to play the video. You can upload it directly to your TikTok profile.
Pros
● Offers multiple audio and visual effects
● Supports 4K video editing
● Powerful video and sound editing tools
Cons
● Doesn’t allow you to export videos from TikTok to FilmoraX
8. BeeCut
This is a video editing that is quite popular among Mac and Windows users. Apart from having a simple user-interface it also has some powerful video editing functions. With the help of this, you can add exciting and cool filters to your TikTok videos. You can also add overlays, PIP effects, titles, transitions, and much more. The software supports 5 aspect ratios that include 4:3, 3:4, 9:16, 16:9, and 1:1. Even if you have no idea about editing videos on your computer, you can use the editor to create stunning videos in no time.
Pros
● Lets you edit TikTok videos using various tools
● Enables video editing in multiple aspect ratios and resolutions
● Comes with several color strokes, animation, and other effects
Cons
● Doesn’t have Chroma Key function
9. Open Shot
OpenShot is simple and free to use open-source video editor available for Windows, Mac, and Linux. It is a good video editing tool for beginners. With this, you can learn video editing skills. If you have to learn the basics without spending too much time, this video editor is your best shot.
Other than doing basic video editing, you will also be able to render 3D animation. Using this editor, you can slice and trim videos without any hassle.
Pros
● Provides templates for editing tiles
● Lets you trim videos at your will
● Has free built-in animation and effects
Cons
● Can be buggy at times
10. Kdenlive
Albeit the development team has shifted full-steam ahead on Linux, you can use the video editing software on Mac. It supports all popular media formats and lets you add files to the software’s timeline pretty easily.
Pros
● Lets you edit video and audio tracks
● Customizes shortcuts easily
● Is an open-source software
Cons
● Updates slowly
11. Blender
This is a free 3D graphics application that is considered to be one of the top video editors for Mac. It is used for rigging, modeling, UV unwrapping, animation, and more. The blender comes with several advanced features such as powerful character, modifier-based modeling, etc.
Pros
● Supports GPU and CPU rendering
● Is a 3D creation suite
● Has different sculpture brushes and tools
Cons
● Animation management isn’t smooth
Conclusion
Creating videos for TikTok and making them unique becomes easy when you choose one of the best TikTok editing apps/websites. However, FilmoraX is one of the top TikTok editing apps you can use without thinking twice because of its unique and standout features. Download the trial version and check it out.
Learn More: How to Make a Video Meme for Tiktok>>>
Shanoon Cox
Shanoon Cox is a writer and a lover of all things video.
Follow @Shanoon Cox
The 2-Step Strategy for Stunning TikTok Reaction Videos Using Filmora
How to Make TikTok Reaction Videos Easily in 2 Ways
Shanoon Cox
Mar 27, 2024• Proven solutions
With all the videos of different moods and categories available on the platform, TikTok’s reaction is something that makes the footage more engaging. Available for both iOS and Android platforms, TikTok allows you to record, edit , and compile a video of up to 60 seconds, and apply a plethora of filters and animation effects to them along with adding relevant music to awe your audience.
Considering this, here you will learn how to make TikTok reaction videos with ease from within the app itself, and if that’s not enough, using one of the best and most efficient programs available in the market that can even allow you to add unique effects to the reactions you create.
- Part 1: How to Make React Videos on TikTok
- Part 2: How to Use Snap Filmora to Make TikTok Reaction Videos
Bonus: Create A More Attractive Video with Human Segmentation Effect
The human segmentation effect under AI Portrait allows you to isolate people from video background even without a green screen, and then you can composite it to make a reaction video easily. Watch the video tutorial below to find out more details.
Want to read the texts instead of watching videos? Check the complete guide to making a reaction video in 3 ways .
Part 1: How to React to a TikTok Video
After being equipped with all the worldly knowledge about TikTok reaction videos, you can follow the steps given below to learn how to react to the footage created by other people:
1. Tap Share and Record Your Reaction
Start TikTok, play the video you want to react on, tap the Share icon from the lower-right area, and tap the React option from the Share to menu. Tap Flip from the top-right corner of the Camera screen to switch between the front and rear camera as needed, optionally tap the Mic icon to disable or enable voice and system audio capture, drag and reposition React window according to the source footage, and tap the Record button from the bottom to start shooting your TikTok reaction. Wait while the source clip and your recording process are complete successfully before moving forward to the next step.

2. Apply Filters
Tap the Filters icon from the top-right corner, tap to pick a filter from those available at the bottom, and tap anywhere on the screen to accept the one you selected and to get back to the previous window.

3. Manage Audio
Tap the Mixer icon from the upper-right corner of the screen, drag the My Voice and Soundtrack Volume sliders to manage your voice recording and the internal audio respectively, and tap Done to save the changes once you’re through with the modifications. Back on the previous window, tap Next from the bottom-right corner.

4. Publish the Video
Tap the Who can view this video option to manage your reaction’s visibility settings (optional). Tap the Save to device toggle switch to prevent TikTok reaction from being stored on your mobile’s storage (optional). Next, tap the Post button from the bottom-right corner to publish the video to TikTok.

More creative tricks about TikTok video: Clone Yourself in TikTok
Part 2: How to Make Reaction Videos with Filmora
Even though you can make TikTok reaction videos using its own filters and audio mixing tools that work pretty well under ideal conditions, if you are a perfectionist and like precision in anything you do or create, you need a dedicated program that has been designed specifically for the purpose.
Although several such tools are available in the market and can be easily downloaded and used, the best among them is Filmora by Wondershare. Wondershare Filmora is an industry-standard production and post-production tool for both Mac and Windows PCs that the majority of users prefer over its competitors such as Adobe Premiere Pro, Final Cut Pro X, etc. This is because Filmora offers simple UI, is less resource-intensive, and is able to render the outputs significantly faster.
You can learn how to make TikTok reaction videos using Wondershare Filmora by following the steps given below:
Note: Before proceeding, make sure that you have already copied the source (and the reaction) video(s) from your smartphone to your computer.
1. Create New Project and Set Preferences
Start Wondershare Filmora on your Windows or Mac PC, go to File > New Project and click 9:16 (Portrait) from the submenu that appears.
Click Split Screen from the standard toolbar at the top, hover mouse to the screen type preset you want to use, click the + ( Add to Project ) icon that appears at the bottom-right corner of the thumbnail, and click OK from the bottom-right corner once the preset is added to the Timeline.

2. Import and Add Video(s) Preview/Timeline
Click the Media button from the standard toolbar, click anywhere inside the Media window at the upper-left corner, and when the Open box comes up, select and import the video file(s) you want to participate in the TikTok reaction. Alternatively, you can also click Record from below the standard toolbar, and choose any of the options to record your own video or voice right from within Wondershare Filmora itself.
Next, click and drag each of the imported videos to their corresponding screen sections in the Preview window in the upper-right area. Notice how the files are automatically added to the Timeline at the bottom.
3. Add Elements and Titles
Click Elements from the standard toolbar, hover mouse to the element you want to add to the reaction, click the + icon that appears at the center of the thumbnail, and reposition the element in the Timeline to match the duration with that of the reaction you are creating.

4. Export the Reaction

Click EXPORT from the top-middle section of the interface, go to the Local tab from the top of the Export box that appears next, select your preferred format from the left bar, optionally choose a destination folder from the right window, optionally click SETTINGS to fine-tune the output preferences as needed, and click EXPORT from the bottom-right corner to export the TikTok reaction. Or, you can save it in the settings perfect for iPhone or another device.
Below is a sample reaction video made with Filmora, you can do much better than that for your TikTok account:
Besides using Filmora to edit reaction videos with the split-screen presets, you can also use some other video editing software to create a reaction video . Filmora can empower your video creation with more creativity, watch the video below and download Filmora to try.
Conclusion
A TikTok reaction enables you to make the source videos more fun and entertaining. Luckily the app itself has a “React” button that helps you create TikTok reaction videos with merely a few simple taps. However, if you feel that the built-in options are not as robust as they should be, a third-party program like Wondershare Filmora is something you would definitely love to try your hands on as the software is not only easy to use, it is also lightweight, and doesn’t put any overhead on your computer hardware.
Shanoon Cox
Shanoon Cox is a writer and a lover of all things video.
Follow @Shanoon Cox
Shanoon Cox
Mar 27, 2024• Proven solutions
With all the videos of different moods and categories available on the platform, TikTok’s reaction is something that makes the footage more engaging. Available for both iOS and Android platforms, TikTok allows you to record, edit , and compile a video of up to 60 seconds, and apply a plethora of filters and animation effects to them along with adding relevant music to awe your audience.
Considering this, here you will learn how to make TikTok reaction videos with ease from within the app itself, and if that’s not enough, using one of the best and most efficient programs available in the market that can even allow you to add unique effects to the reactions you create.
- Part 1: How to Make React Videos on TikTok
- Part 2: How to Use Snap Filmora to Make TikTok Reaction Videos
Bonus: Create A More Attractive Video with Human Segmentation Effect
The human segmentation effect under AI Portrait allows you to isolate people from video background even without a green screen, and then you can composite it to make a reaction video easily. Watch the video tutorial below to find out more details.
Want to read the texts instead of watching videos? Check the complete guide to making a reaction video in 3 ways .
Part 1: How to React to a TikTok Video
After being equipped with all the worldly knowledge about TikTok reaction videos, you can follow the steps given below to learn how to react to the footage created by other people:
1. Tap Share and Record Your Reaction
Start TikTok, play the video you want to react on, tap the Share icon from the lower-right area, and tap the React option from the Share to menu. Tap Flip from the top-right corner of the Camera screen to switch between the front and rear camera as needed, optionally tap the Mic icon to disable or enable voice and system audio capture, drag and reposition React window according to the source footage, and tap the Record button from the bottom to start shooting your TikTok reaction. Wait while the source clip and your recording process are complete successfully before moving forward to the next step.
2. Apply Filters
Tap the Filters icon from the top-right corner, tap to pick a filter from those available at the bottom, and tap anywhere on the screen to accept the one you selected and to get back to the previous window.
3. Manage Audio
Tap the Mixer icon from the upper-right corner of the screen, drag the My Voice and Soundtrack Volume sliders to manage your voice recording and the internal audio respectively, and tap Done to save the changes once you’re through with the modifications. Back on the previous window, tap Next from the bottom-right corner.
4. Publish the Video
Tap the Who can view this video option to manage your reaction’s visibility settings (optional). Tap the Save to device toggle switch to prevent TikTok reaction from being stored on your mobile’s storage (optional). Next, tap the Post button from the bottom-right corner to publish the video to TikTok.
More creative tricks about TikTok video: Clone Yourself in TikTok
Part 2: How to Make Reaction Videos with Filmora
Even though you can make TikTok reaction videos using its own filters and audio mixing tools that work pretty well under ideal conditions, if you are a perfectionist and like precision in anything you do or create, you need a dedicated program that has been designed specifically for the purpose.
Although several such tools are available in the market and can be easily downloaded and used, the best among them is Filmora by Wondershare. Wondershare Filmora is an industry-standard production and post-production tool for both Mac and Windows PCs that the majority of users prefer over its competitors such as Adobe Premiere Pro, Final Cut Pro X, etc. This is because Filmora offers simple UI, is less resource-intensive, and is able to render the outputs significantly faster.
You can learn how to make TikTok reaction videos using Wondershare Filmora by following the steps given below:
Note: Before proceeding, make sure that you have already copied the source (and the reaction) video(s) from your smartphone to your computer.
1. Create New Project and Set Preferences
Start Wondershare Filmora on your Windows or Mac PC, go to File > New Project and click 9:16 (Portrait) from the submenu that appears.
Click Split Screen from the standard toolbar at the top, hover mouse to the screen type preset you want to use, click the + ( Add to Project ) icon that appears at the bottom-right corner of the thumbnail, and click OK from the bottom-right corner once the preset is added to the Timeline.
2. Import and Add Video(s) Preview/Timeline
Click the Media button from the standard toolbar, click anywhere inside the Media window at the upper-left corner, and when the Open box comes up, select and import the video file(s) you want to participate in the TikTok reaction. Alternatively, you can also click Record from below the standard toolbar, and choose any of the options to record your own video or voice right from within Wondershare Filmora itself.
Next, click and drag each of the imported videos to their corresponding screen sections in the Preview window in the upper-right area. Notice how the files are automatically added to the Timeline at the bottom.
3. Add Elements and Titles
Click Elements from the standard toolbar, hover mouse to the element you want to add to the reaction, click the + icon that appears at the center of the thumbnail, and reposition the element in the Timeline to match the duration with that of the reaction you are creating.
4. Export the Reaction
Click EXPORT from the top-middle section of the interface, go to the Local tab from the top of the Export box that appears next, select your preferred format from the left bar, optionally choose a destination folder from the right window, optionally click SETTINGS to fine-tune the output preferences as needed, and click EXPORT from the bottom-right corner to export the TikTok reaction. Or, you can save it in the settings perfect for iPhone or another device.
Below is a sample reaction video made with Filmora, you can do much better than that for your TikTok account:
Besides using Filmora to edit reaction videos with the split-screen presets, you can also use some other video editing software to create a reaction video . Filmora can empower your video creation with more creativity, watch the video below and download Filmora to try.
Conclusion
A TikTok reaction enables you to make the source videos more fun and entertaining. Luckily the app itself has a “React” button that helps you create TikTok reaction videos with merely a few simple taps. However, if you feel that the built-in options are not as robust as they should be, a third-party program like Wondershare Filmora is something you would definitely love to try your hands on as the software is not only easy to use, it is also lightweight, and doesn’t put any overhead on your computer hardware.
Shanoon Cox
Shanoon Cox is a writer and a lover of all things video.
Follow @Shanoon Cox
Also read:
- [Updated] 2024 Approved Rhyme & Share Spotlight on Popular TikTok Rap Hits
- Comedy Cache Hot Names & Trends in the Laughter World for 2024
- 2024 Approved The Groove Guide Navigating Today's Hot Raps in 156 Characters or Less
- [Updated] The Essential Guide to Snagging TikToks at Lightning Speed for 2024
- [Updated] From Beginner to Expert The Complete Guide to Slow Mo in TikTok for 2024
- [New] 2024 Approved Rising to Fame TikTok's Most Shared Reactions
- [New] Best Practices in TikTok Advertising From Concept to Campaign Launch
- TikTok's Best Practices for Engaging Ad Content and Influential Examples
- [New] Discover 50+ Creative Words That Make TikToks Go Viral
- [New] In 2024, Key Points to Understand TikTok Web (macOS)
- Exclusive TikTok Downloader for Watermark-Free MP4 for 2024
- [New] Sonic Sanitation Purifying Recordings in Audacity for 2024
- [New] In 2024, Daily Dose of TikTok Motivation The Elite Fifteen
- [New] Giggle Grove A Top 20 List of Hilarious TikTok Content
- [Updated] Mastering Jujutsu Kaisen Challenges for TikTok for 2024
- [Updated] Premier 10 Visual Effects to Set Your TikTok Apart
- Discover the Best TikTok to MP3 Online, Costless Convertors
- [New] Crafting a Jujutsu Kaisen TikTok Challenge
- [New] Designer's Guide Crafting an Individualistic Keyword for TikTok
- [New] Amplify Your Message with TikTok Voiceovers for 2024
- In 2024, Step-by-Step Removing Watermarks From Downloaded iOS TikTok Videos
- Boost Your Viewing Efficiency The Ultimate TikTok Fast Forward Method
- [Updated] 2024 Approved Elevating TikTok Experience Infusing Videos with Audio Insights
- In 2024, Latest way to get Shiny Meltan Box in Pokémon Go Mystery Box On Nubia Z50S Pro | Dr.fone
- How to Repair a Damaged video file of Samsung Galaxy F14 5G?
- [New] Mac Visionaries Reveal ScreenFlow Secrets and Benefits for 2024
- [Updated] 2024 Approved Proven Techniques for OBS Broadcasting on FB
- New Add Wow Factor to Your Videos Top Free Special Effects Apps
- Updated 2024 Approved Adobe After Effects Review
- Full Guide on Mirroring Your Poco X5 to Your PC/Mac | Dr.fone
- New How to Recognize Songs on iPhone for 2024
- [Updated] In 2024, VistaView HD RecordingApp
- Proven Ways in How To Hide Location on Life360 For Samsung Galaxy M34 | Dr.fone
- Capture Dynamic Movements IPad Timelapse Tips for 2024
- [Updated] 20+ Alternatives to OBS A Guide to Advanced Livestream Tech for 2024
- How To Remove Passcode From Apple iPhone 13 Pro Max? Complete Guide | Dr.fone
- [Updated] Window Wisdom Taking Precise Screen Captures for 2024
- How to Change Location on TikTok to See More Content On your Apple iPhone 11 Pro | Dr.fone
- In 2024, How to Transfer Contacts from Vivo S17e to iPhone XS/11 | Dr.fone
- In 2024, The Vlog Voyage Through Twitter's Live Videos
- New Convert Audio Files with Confidence The Ultimate Guide for 2024
- Reasons why Pokémon GPS does not Work On Motorola Razr 40? | Dr.fone
- How Can We Unlock Our Google Pixel 7a Phone Screen?
- New In 2024, Do You Know Anything About the Video Format Supported by WhatsApp? If Not, Then This Is the Right Time to Learn About WhatsApp-Supported Video Formats
- In 2024, Integrating Snaps Smoothly Into Your Zoom Schedule
- Title: "[New] Find Your Perfect TikTok Video - Explore the Best 10 Free, Mac-Compatible Editing Apps"
- Author: Gary
- Created at : 2024-05-23 06:24:54
- Updated at : 2024-05-24 06:24:54
- Link: https://tiktok-clips.techidaily.com/new-find-your-perfect-tiktok-video-explore-the-best-10-free-mac-compatible-editing-apps/
- License: This work is licensed under CC BY-NC-SA 4.0.
